http://groups.yahoo.com/group/digitalscrappingclass/?yguid=238386841,
http://groups.yahoo.com/group/LearnToScrap/?yguid=238386841,
and http://tech.groups.yahoo.com/group/ScrapKitChallenge/?yguid=238386841). On one of the groups, someone asked for a tutorial on creating element bags. I couldn't find a tutorial, so I decided to write one...
Making an element bag in PSP
1. Open new raster document (12x12 at 300ppi). Rename the raster layer “bag”
2. Set foreground to white
3. Set background to #c5c0b7
4. Click on background properties tag and select gradient foreground/background and use these settings:
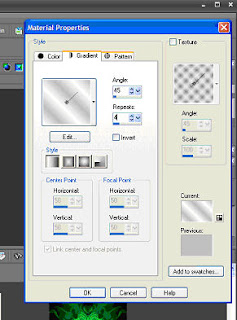
5. From panel, choose your flood fill tool. Left click on your image to flood fill with the gradient. It should look something like this:
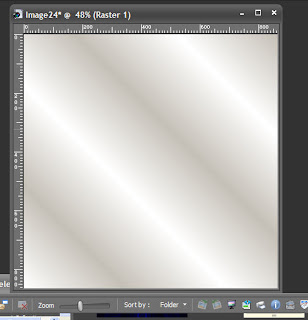
6. Select mesh warp tool.
7. Move the nodes around until you have something like this:
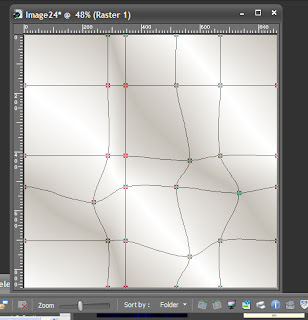
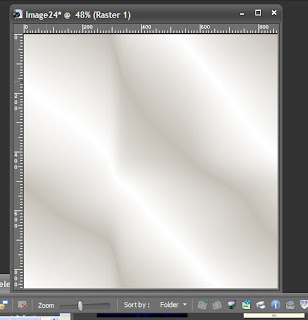
8. Choose your selection tool, and use the rounded rectangle to select an area like this:
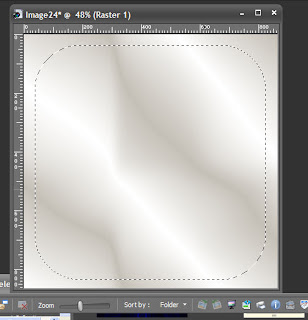
9. Invert selection and clear. It should look like this:
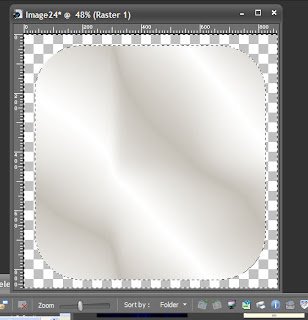
10. Invert selection again, to reselect only the image.
11. Add a new raster layer and name it “wrap. Flood fill this layer with black.
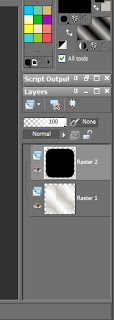
12. With your wrap layer highlighter, choose your selection tool and pick the rectangle.
13. Draw out a rectangle like this:
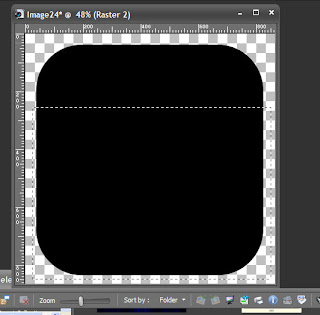
14. Edit: clear
15. Your image now looks like this:
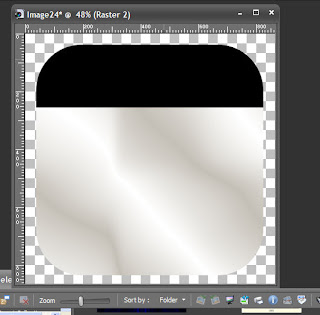
and your layers palette like this:
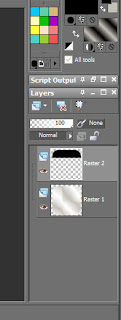
16: Paste the cutout shape as a new layer. And position it to look like this:
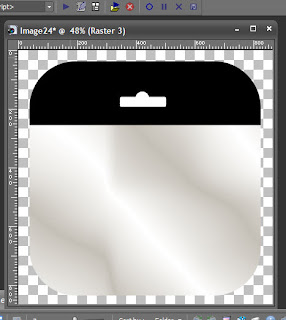
16. Use your magic wand to select the cutout.
17. Highlight your wrap layer and edit: cut.
18. Highlight your bag layer and edit: cut.
19. Delete the cutout layer. Your image should look like this:
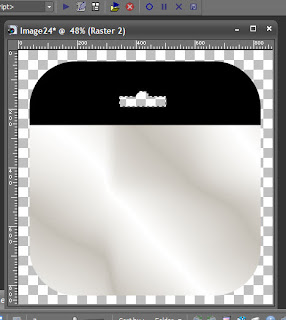
20. Add a new layer and name it staplehole.
21. Use your selection tool to draw a small rectangle and flood fill it white. Duplicate. Arrange the rectangles so that they look like this:
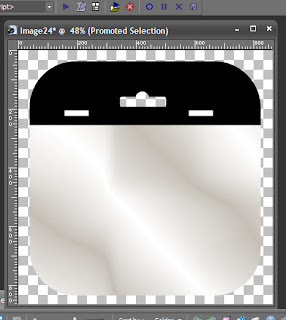
Then merge down so that both white rectangles are on the staplehole layer.
22. Use your magic wand to select the first white rectangle. While pressing shift, select the second white rectangle.
23. Highlight the wrap layer and edit: cut
24. Highlight the bag layer and edit: cut. Your image now looks like this.
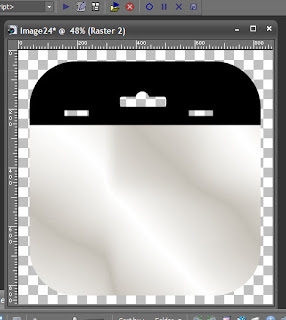
25. Flood fill your wrap layer in gray. Use your magic wand to select the cutout and staple holes.
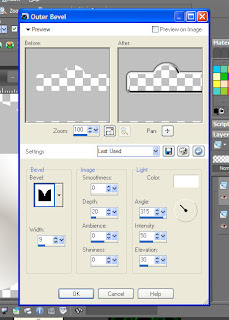
26. Select Effects: 3D effects: Outer Bevel
27. Use the following settings:
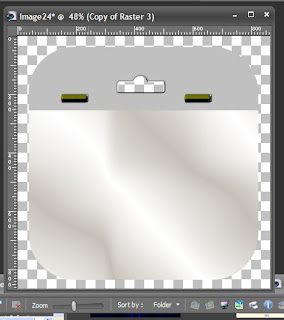
28. Add staples. Your image looks like this:
29. Highlight your bag layer. Reduce opacity to about 70%.
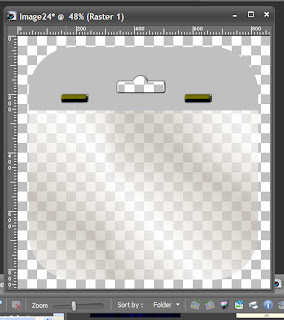
30. Save as PSP file so that you can later change the wrap layer to match whatever kit your are displaying.
Here’s my finished example:
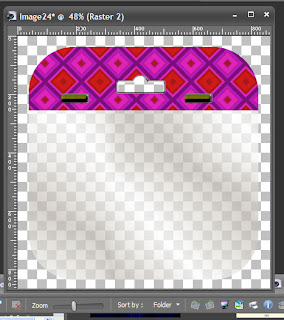
You can get the cut out shape here:
Cut Out Shape
Or creat your own using the retangle and circle selections.
Have fun with it. Feel free to share my blog link with other groups whose members may benefit from this tutorial.
Tutorial by: Virginia Higgins, Lady V dZine of http://prettyscrappy.com
Be Blessed!
Lady V


10 comments:
Nice job! Very well put together.
Dawn
Well done! Thank you for taking the time to do this!!!
Thanks so very much...I really appreciate you!
Be Blessed!
Thank you for that tut! It's great!! Now it's bag time :D:D
Hugs
Hello,
I am creating a new blog. I liked your tutorial on the element bag. I have placed a link on my blog to that tutorial. Is that ok with you. and could you add me to your list of people that display your tutorials so I might get some traffic to my new blog? debsrapbooks.blogspot.com
hugs
Deborah (damc)
love the tut! very helpful, thanks for the cutout shape as well! =)
I'll include a link back to your blog when I post my next freebie with my new element bag.
=) Thanks!
I have looked for a tut for this forever. I'm so happy I finally found it. Thank you for posting it!!
Cool blog you got here. I'd like to read a bit more about that matter.
By the way check the design I've made myself Female escorts
Great story you got here.
It would be useful to find anything more concerning this topic.
Thnx for give that information.
Mika
escort girls in Ukraine
Choose from hundreds of games, or surf the Internet with integrated Wi-Fi. The incredibly vibrant display is the perfect spot to view every visual with stunning clarity, while its sleek design is easy to hold no matter what you’re doing with it.
Post a Comment